Lighting in the movies is something subtle but pivotal. It sets the mood, points the eye, and determines what the viewer sees and doesn’t see. Movie lighting, to some extent, derives from two sources: stage lighting and photographic lighting.
It took the mood and focusing power of the one and added it to the clarity and precision of the other to create a world where the director can always have the mood and time of day necessary for the scene. Lighting controls what you see but also how you see it.
Vito Corleone’s world is brown, black, and orange (except in Sicily), constantly feeling heavy and portentous. In contrast, movie musicals have always had bright, colorful worldviews that are as shiny as the posters and scenery of a Broadway musical.
Using the best lighting techniques is essential whether you’re creating a natural-looking file or a highly stylized one. Remember, this is your show and your world – people will see what you let them see. Whatever your budget is, get the best you can for it.
Starting with your key light, make it the center of your spending. Once you have an outstanding keylight, then you can think about available money for other lighting. The basic set up for a film, used universally, is the three-point basic lighting setup.
It makes use of a key light, backlight, and fill light. This setup will highlight the main character and help to separate that character from the surrounding scene. The key light goes in front of and off to the side of your lead actor. Put a softer light on the opposite side of the actor to soften any shadows created by the key light.
Last, put a third light behind the actor to help define and highlight the actor’s features and outline. This setup is a fundament of movie lighting. Once you have acquired this skill, you can begin to branch out to more sophisticated lighting techniques.
Remember to use color as part of your lighting technique as well. The cinematographer on The Godfather even insisted on a particular color blend in the development of his shots to maintain the color he was looking for and the mood it created.
Think about that film’s oranges and deep tones, all courtesy of Gordon Willis. He brought many of these same lighting techniques or awareness to other films, such as All the President’s Men, where the light of the newsroom contrasts with the darkness of the places the reporters must go to get that news.
By the way, lights are “set” for a scene. They generally are not aimed, and they’re seldom white. Some colors have funny names, like “bastard amber,” often combined with surprise pink or special lavender, both relatively light purple colors.
The amber provides warm light while the pink or lavender is cool. The combination helps to prevent washouts under powerful lights.
1. Natural Lighting
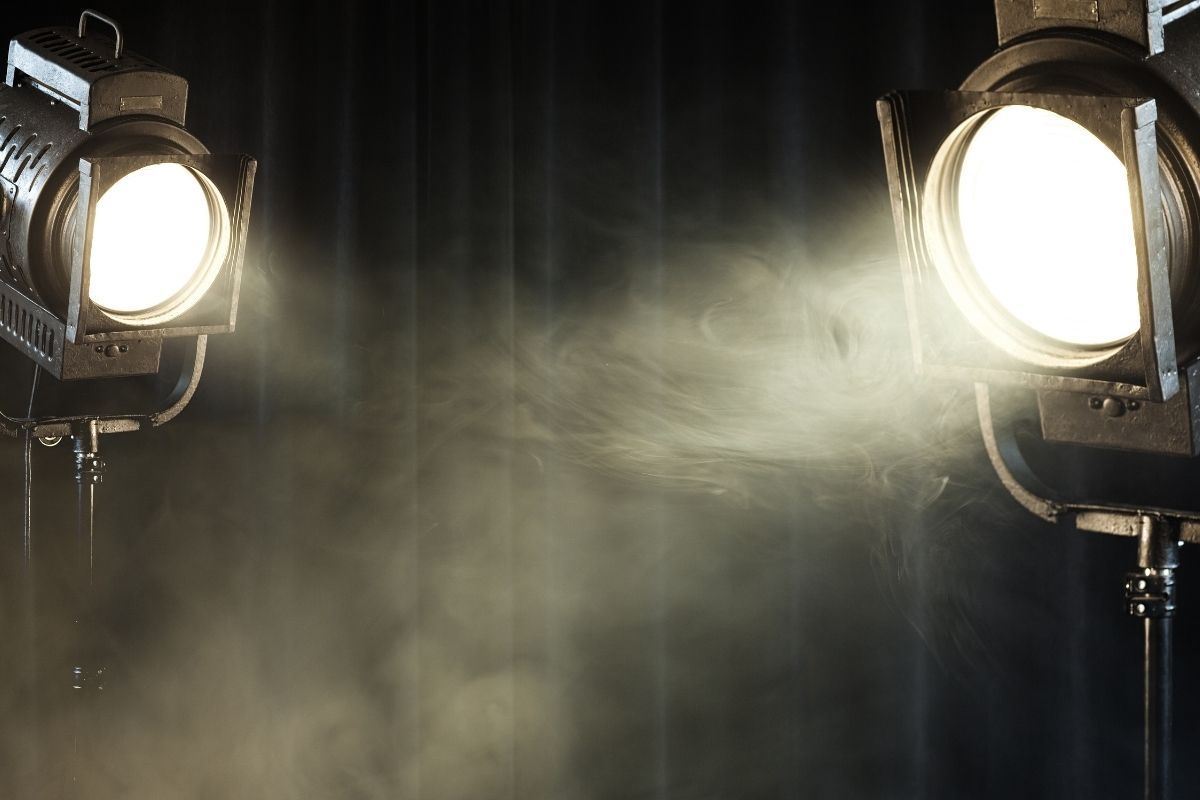
Natural lighting replicates authentic light sources and does it remarkably well. Sunlight actually looks like sunlight, and it comes at the best price of all – free. Just remember to consider the time of day both for your scene and for the light you are using.
It won’t be that easy to get precisely that light again. Natural lighting was used to great effect in Deliverance. A group of good old boys terrorized by in-bred boys, all in the warm glow of day, making for a genuinely terrifying daylight journey.
12. Key Lighting

Key lighting is the primary film light of a scone or subject. It’s usually the strongest light in each scene. Even where a sophisticated multi-light set up is planned, the key light will be the first light to be set. The key light can come from any direction, depending on the mood the director wants to set.
However, it should not be right beside the camera as that kind of direct light will flatten the appearance of the scene. The key light is generally set up by placing it in front of the subject and then playing with the angles to get the right set up.
The color, angle, and wattage of key lighting is a central factor in lighting design for a scene. There are two basic types:
Low Key Lighting Set Up – Low key lighting relies on shadows rather than brightness. It achieves its goal by using hard, sharp lights, but not a lot of them. It allows the director to achieve stunning shots but takes work. Shardows, deep blacks, and dark tones are characteristic of low key lighting.
There are few whites and mid-tones. Low key lighting sets a mood not achievable with standard lighting. It works well with mystery and sensuality. It is often used to isolate a character, as in a horror film. Think of the first scenes in Don Corleone’s office.
Low-key lighting needs quality cameras to produce quality film. Film noir relied heavily on low-key lighting to create its unnerving atmosphere.
High Key Lighting Setup – High key lighting is a setup to create a brightly lit scene with soft shadows, consistent lighting, and very little contrast. It is used for all types of films, for television, and even for some photography. For decades, high key lighting has been used to minimize shadows and ensure brightness and clarity.
It often uses a three-point light setup, concentrating on using the key light in that setup. It also uses a great deal of the fill light and the backlight to complement the bright key and cover the subject with soft and consistent light. You’ve seen it everywhere: comedies, Hallmark romances, telephone, and most of the video content you see every day.
A great example is the scene in Citizen Kane when, under bright high-key lighting, Kane tears into Susan’s room. Kane does not appear powerful but rather weak and vulnerable in his anger, exposed by Susan’s abandoning him. High-key lighting can also illuminate pleasure, as in Connie’s wedding scene in The Godfather.
It is especially effective as a contrast to the low-key and side lighting of the interior scenes going on at the same time.
3. Fill lighting

Fill lighting does precisely what its name says: it fills in the light space and eliminates shadows. It can also be used to lower contrast in a scene. The fill light can bring out details in the darkness in ways that will impose whatever mood the director desires.
You can use at least seven types of fill lighting 7 types of fill lighting you can use, depending on what you want to accomplish.
- Lighting units – An actual light; don’t spend a lot if you’re on a limited budget. Focus on the key light.
- Reflectors – These lights reflect the key light back toward the subject. You can use reflectors of different colors to create different effects. Many different materials work, but it’s best to avoid mirrors or metallic surfaces as they tend to reflect too much light.
- Walls and ceilings – Use what you’ve got. They make great reflectors, helping to create a soft, subtle effect.
- Fabric – Clothing can also be a good reflector. Lighter clothes create a nice effect.
- Flash – Using a fill flash or strobe can be helpful to balance other stronger lights.
- Negative fill – Blocking the ambient light with a black or opaque flag in a frame. The amount to use is based on how much darker you want the scene to be.
- Spill fill – Light from around the set. You don’t want it leaking into your scenes.
4. Backlighting
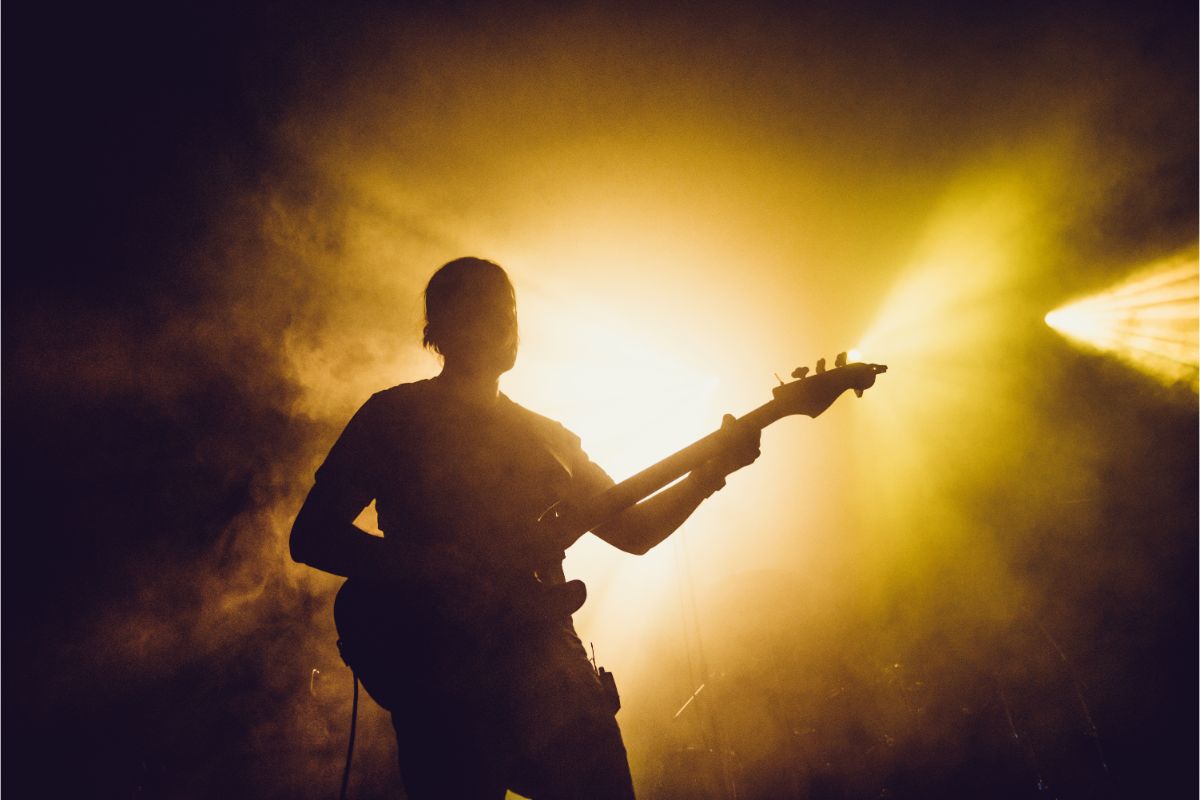
Backlighting gives everything dimension. It’s usually the last light to be added to your scene. It faces the subject but a little higher from behind. You should diffuse your backlighting – lighting the shoulders and neck, for example, instead of the top of the head. Its best use is to accentuate a silhouette.
Backlighting lets you create a truly cinematic scene. Even though backlighting is part of the classic three-point lighting setup, it’s also very strong on its own. The light is usually placed slightly above and behind the subject. It will add tremendous depth to your scene.
Citizen Kane’s projector scene is a gorgeous use of backlighting. We see the reporter with an excited editor trying to figure out how to really explain Kane. It was a perfect beginning to a film that became a paeon to technique.
Another stunning backlit scene is the image of Rachel on her porch waiting with her shotgun in Night of the Hunter. We can barely see her, but we know she’s protecting us against something horrible out in that yard – something that we eventually see on horseback in the distance, also backlit.
5. Sidelighting/Chiaroscuro
Not surprisingly, this is lighting from the side, parallel to the subject of the scene. It is frequently used by itself with just a faint fill light to create a mood by contrasting light and shadow falling unevenly on a particular subject or from one specific direction.
This choice adds drama or depth to the scene, increasing the dimensionality of the scene. Citizen Kane used this style to great effect in black and white. The Godfather used chiaroscuro very successfully in color, foreshadowing the violence and criminal nature of the Godfather’s world.
Earlier films using the technique to great effect were Nosferatu, the first vampire film, and The Maltese Falcon, a classic example of film noir. Ironically, chiaroscuro features in Apocalypse Now for the highly practical reason that Marlon Brando was far fatter than he had agreed to be for the project. Coppola simply lit him darkly to hide Brando’s enormity.
6. Practical Lighting
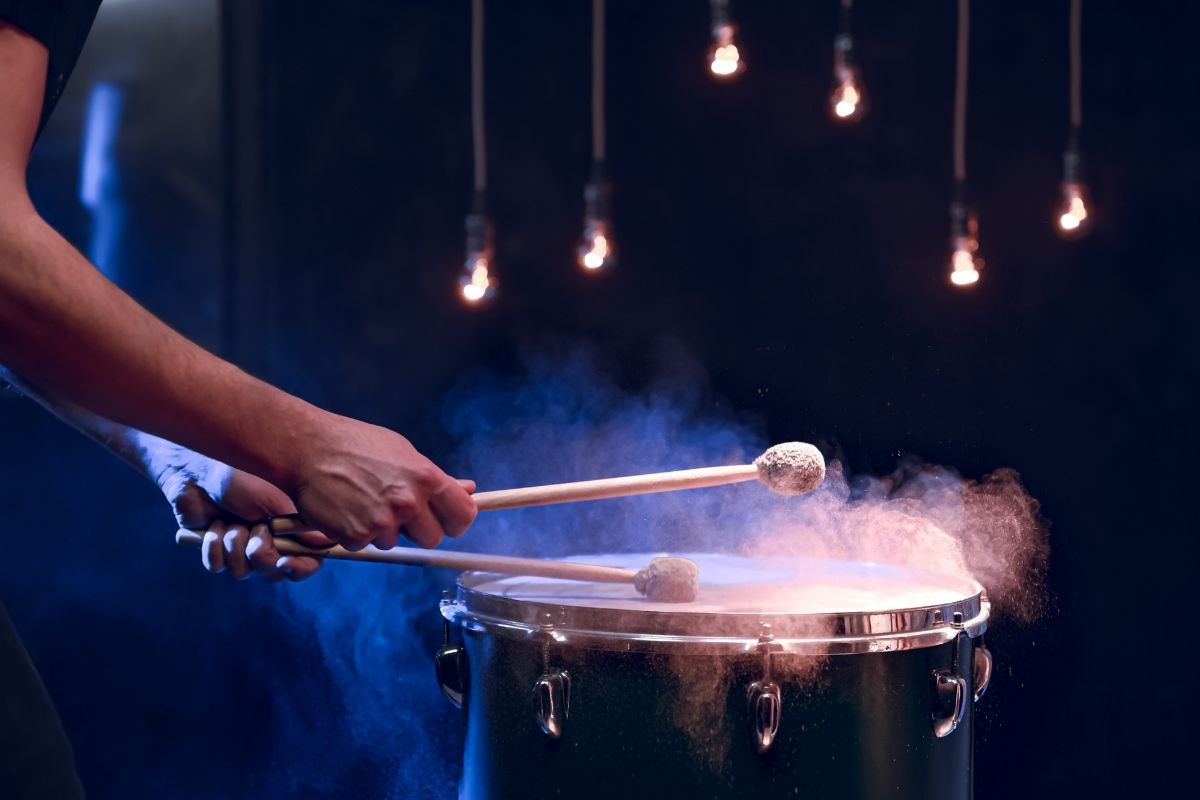
Practical lighting is what you do when characters have to be shown using everyday light sources. The key to the technique is to use the natural source of the desired light to light the scene if you can. This, of course, means that your light source will be visible to the viewer.
Things like lamps and candles aren’t always easy to work with on film. The light simply isn’t strong enough to work. A hidden supplementary light should be provided, or the intensity of the lamp or candle should be made adjustable. Practical lighting is used when a character must interact with a light source.
It can be a bedside lamp or a candlelit dinner. Either will be challenging to film.
7. Bounce Lighting

Bounce lighting takes an intense light and bounces it off a reflective source toward your subject. It creates a broader area of light that is more evenly distributed. They can generate softer fill, top, and other slights. Bounce lighting is an excellent tool when you need more ambient light across the whole scene.
It allows the reaction of “natural” and soft-focus lighting. For the amateur, bounce lighting has the advantage of being relatively inexpensive and easy to DIY. You can easily experiment with a variety of techniques.
8. Soft Lighting
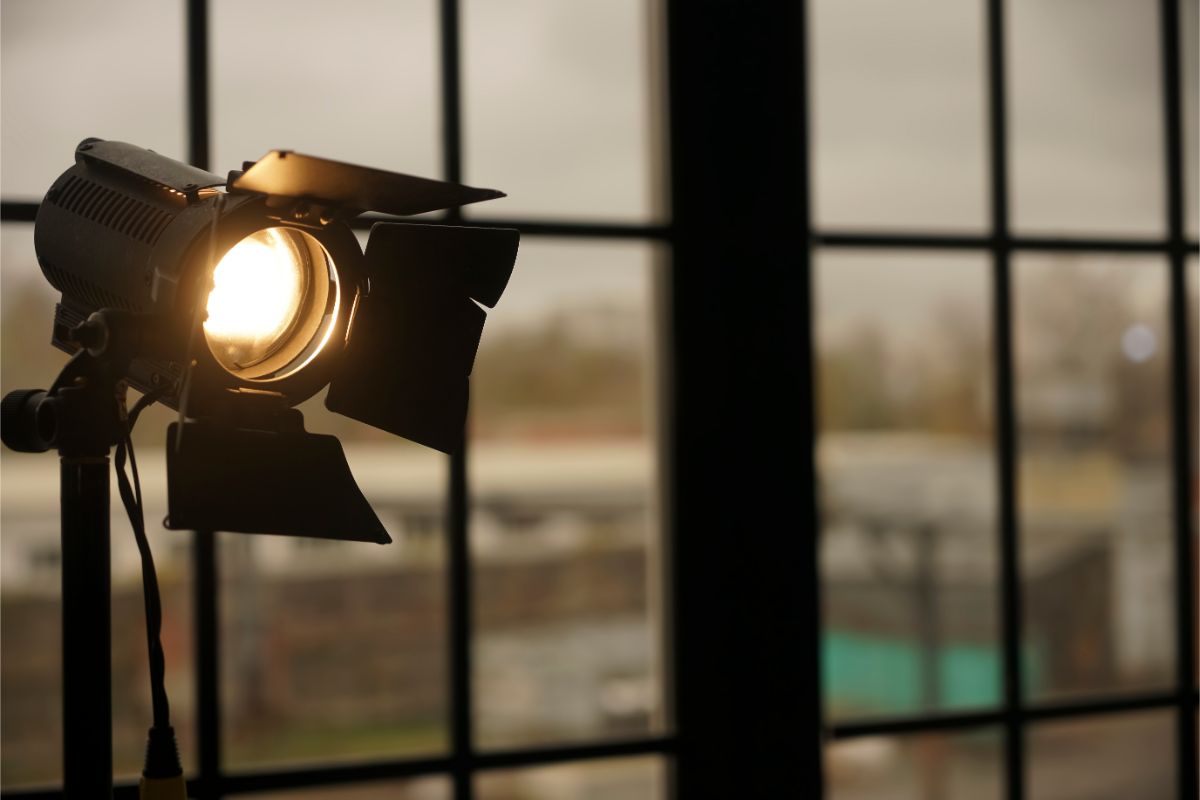
Soft lighting doesn’t point the light in any direction. It just makes people look better by eliminating harsh shadows, replicating natural light from outside, creating drama, or all of the above. It’s very flattering human subjects. It reduces the appearance of shadows, wrinkles, and blemishes.
A classic technique allegedly used for aging actresses was to combine soft lighting with cheesecloth over the camera lens. It softened the look of the face and erased a lot. Sometimes, though, so much softening was done that you felt like the movie was filmed underwater. Your subjects will love you.
9. Hard lighting

Hard ligating can come from sunlight or a solid unnatural light source. You don’t want it most of the time, but it can have some interesting effects. Hard lighting is excellent for focusing on your primary subject or a particular area of your scene.
You can highlight your lead’s contour and create a robust silhouette. It emphasizes changes in shape and contour. Use it to create a more intense quality to your scene.
Rick gets a lot of hard lighting in the Cafe Americain, as does Charles Foster Kane on his journey back to Rosebud. Film noircombined hard lighting with side lighting to create its unique presentation of the world.
10. Motivated Lighting
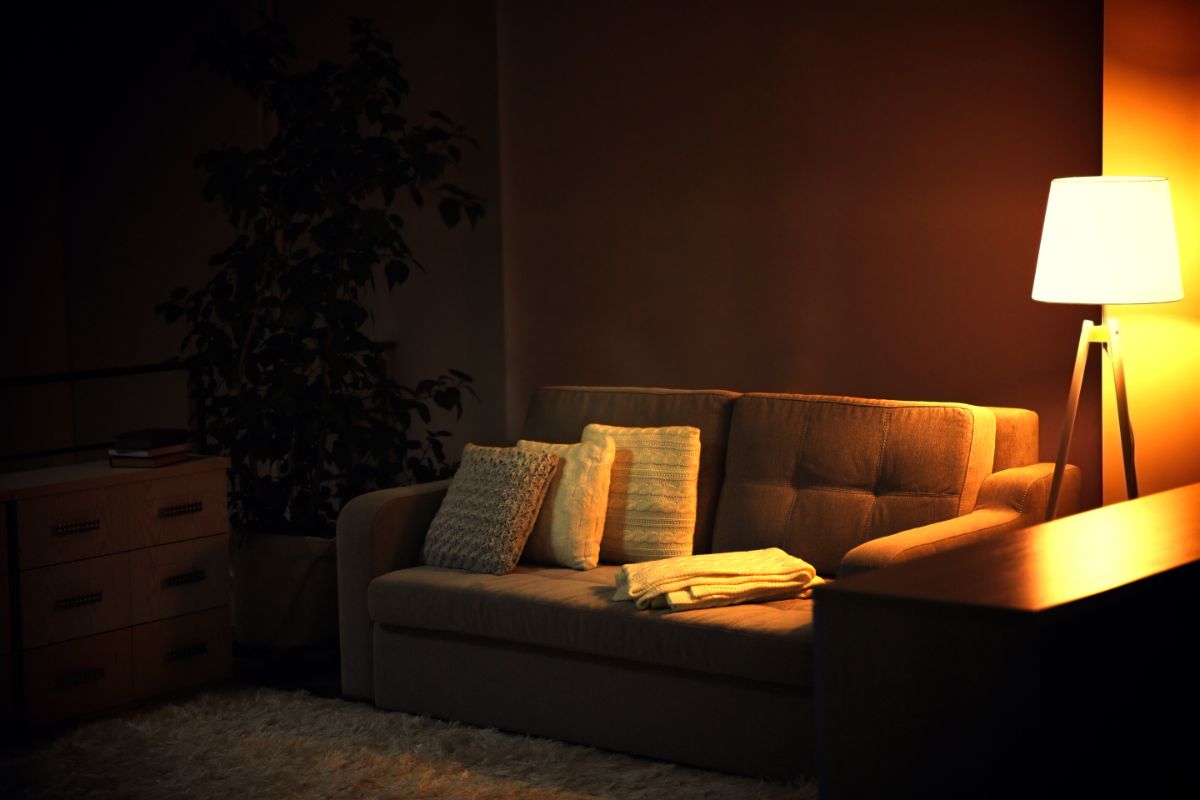
Motivated lighting imitates natural light sources. It can create sunlight, moonlight, or street lamps. It can even make candlelight. Often it is used to enhance the effect of your practical lights. This flexibility allows the director to play with how bright the lights in the scene will be.
The lighting style uses filters and colored gels to replicate the colors of natural light, whether cool blue moonlight or bright yellow sunlight. Motivated lighting is used when it’s important to replicate a natural light source. A splendid use of motivated lighting is the final scene of The Heiress.
Catherine has apparently agreed to marry her previously false lover, who is pounding at her door for admittance to their elopement. Catherine simply bolts the door, carrying a lamp, and gradually blows out the remaining lights in the room, leaving her former fiancee howling in the darkness. Her complete repudiation of Morris could not be better demonstrated.
11. Ambient Lighting
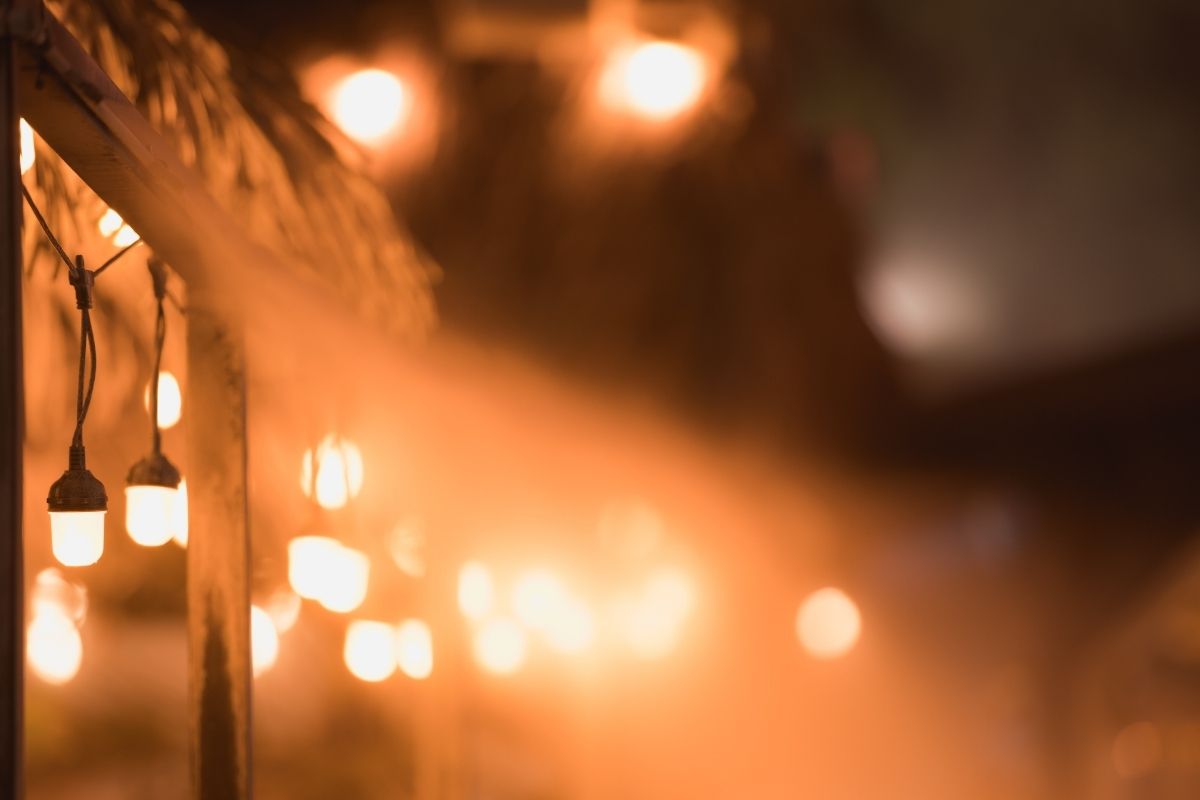
Ambient lighting already exists in your scene, and there is no reason not to make use of it. There’s probably little reason to recreate sunlight if you’re doing an outdoor scene. Use the ambient light to illuminate the whole scene. One great film using only ambient lighting is Bloody Sunday.
The director pulls the viewer into what feels like actual footage of that bloody Sunday in 1972. The same technique creates an entirely different result in Kubrick’s Barry Lyndon, lit only with the lights that would have been available at the time. Kubrick used a modified camera to record his ambient-lit scenes and achieved stunning cinematography.

